
I knew early on I wanted to jazz it up, make it more my style; but I need 2 things: time and money. With some research and some creativity, I have begun my journey to a new, pretty kitchen.
First step: update countertops.
 |
| It is clean, the old caulking is stained. |
 |
| Yes, I have a Hello Kitty toaster. It toasts a cute little face on the bread. |
 |
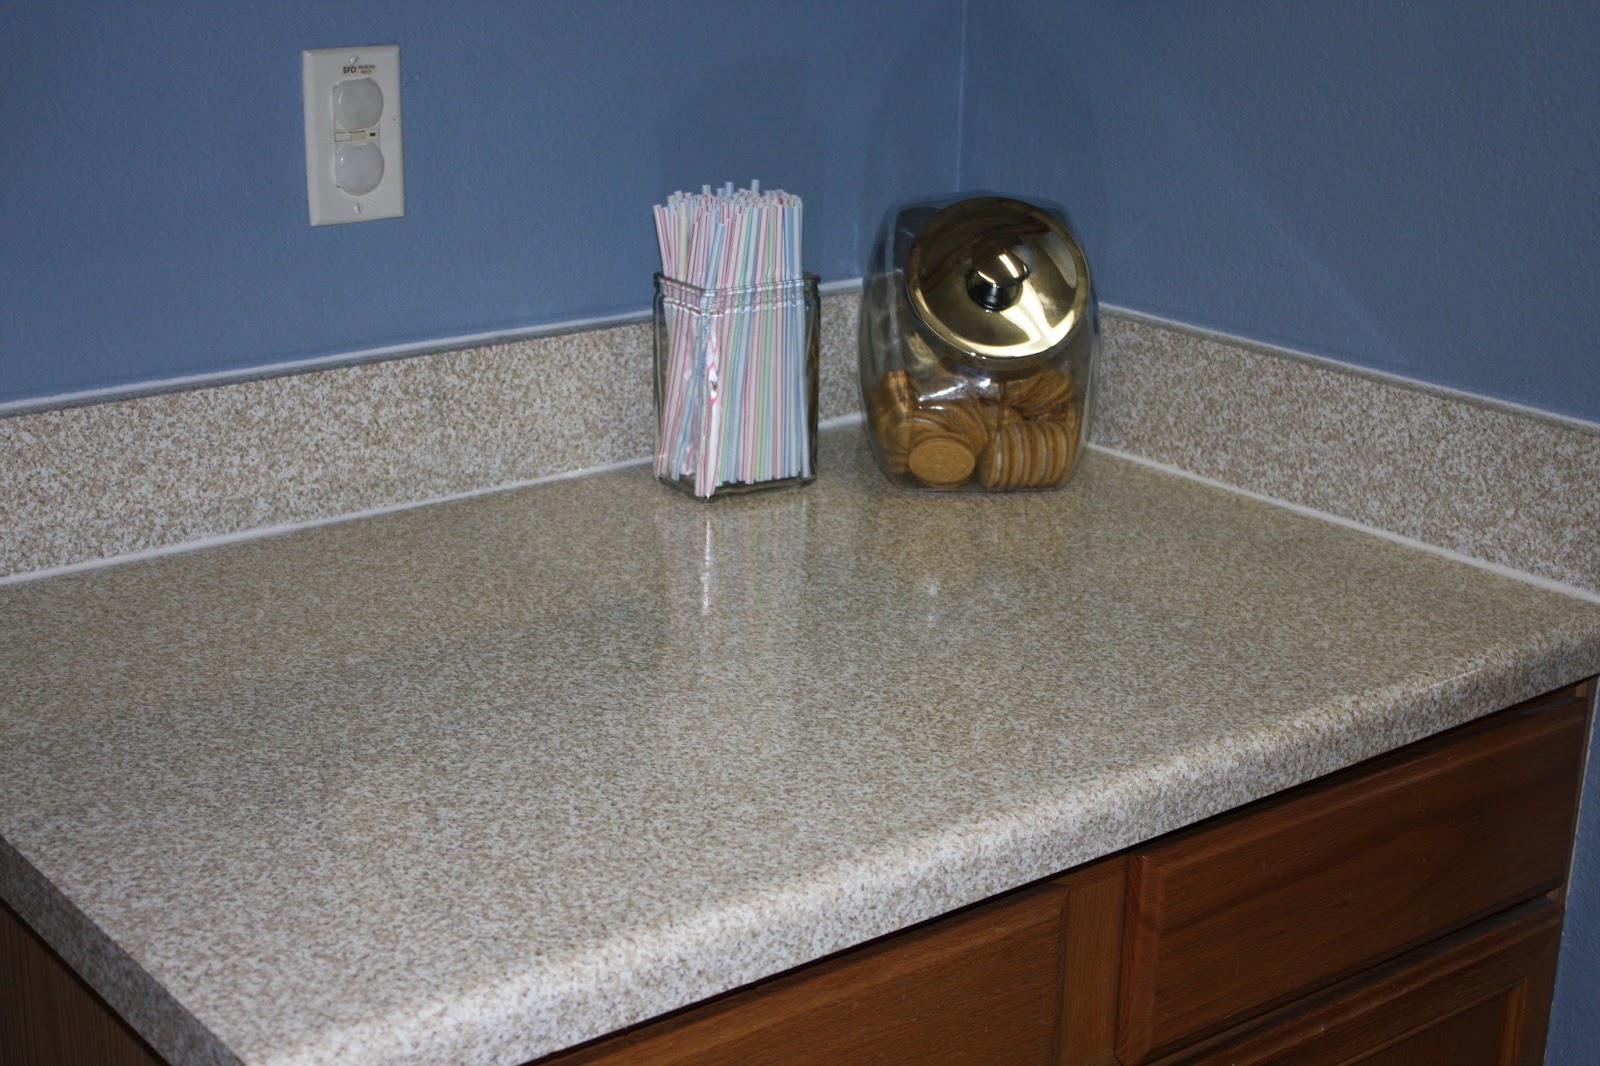
| This wall will have a backsplash install before the remodel is finished. |
They are just white laminate. Not bad, but not great. My vision for my new kitchen will involve white cabinets, and the white countertops were going to be a bit too much white for my taste; not to mention white laminate stains way too easily.
So. My options? Well, a lot, frankly. The cheapest option was to order new laminate, but that still was going to cost hundreds, not to mention the fact it would involve workmen taking over my house and causing a ruckus.
I did what I do best- find an inexpensive, DIY option. The plan was to buy a granite-patterned adhesive laminate roll and recover the existing laminate. Luckily, this lovely product is available at many stores and costs next-to-nothing. In fact, it's probably already in your house...contact paper.
Yep, I learned that laminate countertops are a plywood structure with an industrial version of a contact paper coating the top (along with a heavy sealant). You can cover the countertop with contact paper and apply sealant and caulking, and you have a very comparable finish to store-ordered laminate. The only downside? Seams. But, if you are handy and pick the right pattern, you can hide them without much effort.
Here are my supplies:
 |
| Contact paper less than $6 a roll. I need 2. |
 |
| Close up on the pattern, beige granite. |
 |
| I used about 8 oz, for about $10. |
 |
| I used a smaller amount than pictured; a 3 oz tube (no caulk gun needed) at about $5. |
With scissors, a small box cutter, and a hard, flat surface tool (I used a clipboard), I embarked on my adventure.
I cleared off each counter area, cleaned and dried the area thoroughly, and applied the contact paper slowly and precisely. Some areas I measured and cut before applying, other areas I just let the paper unroll for easier maneuvering. The clipboard helped smooth out the paper and getting rid of those pesky air bubbles. This takes some practice. You get the feel for it after awhile, and pick up some tricks, this makes the process easier as time goes on. I carefully lined up seams and cut away excess paper around the edges of the counter.
After all the paper was applied, I then sealed it with at least 2 coats of the ploycrylic sealant. It dries fast (recoating in 2 hours), is waterproof, and leaves a glossy, hard finish. Pay special attention to seams, this ensures the paper will not peel up in time.
Around the wall and edges apply caulking. I used a product that involved no gun, just a point and squeeze. I wiped away excess caulking with just a swipe of a finger.
 |
| Before sealant and caulking. |
 |
| Before sealant and caulking. |
 |
| Before sealant and caulking...we just wanted to make sure we liked the over-all look. |
 |
| After sealant and caulking. |
 |
| After sealant and caulking...so shiny and pretty. |
I really do love the look, I think it will look great with white cabinets and the new backsplash I want to install. All achieved for a grand total of around $27. That's right, for less than $30, and a few days work, I have pretty new countertops. Not bad, not bad at all. ;) Stay tuned for more updates!
M.LEWIS
No comments:
Post a Comment